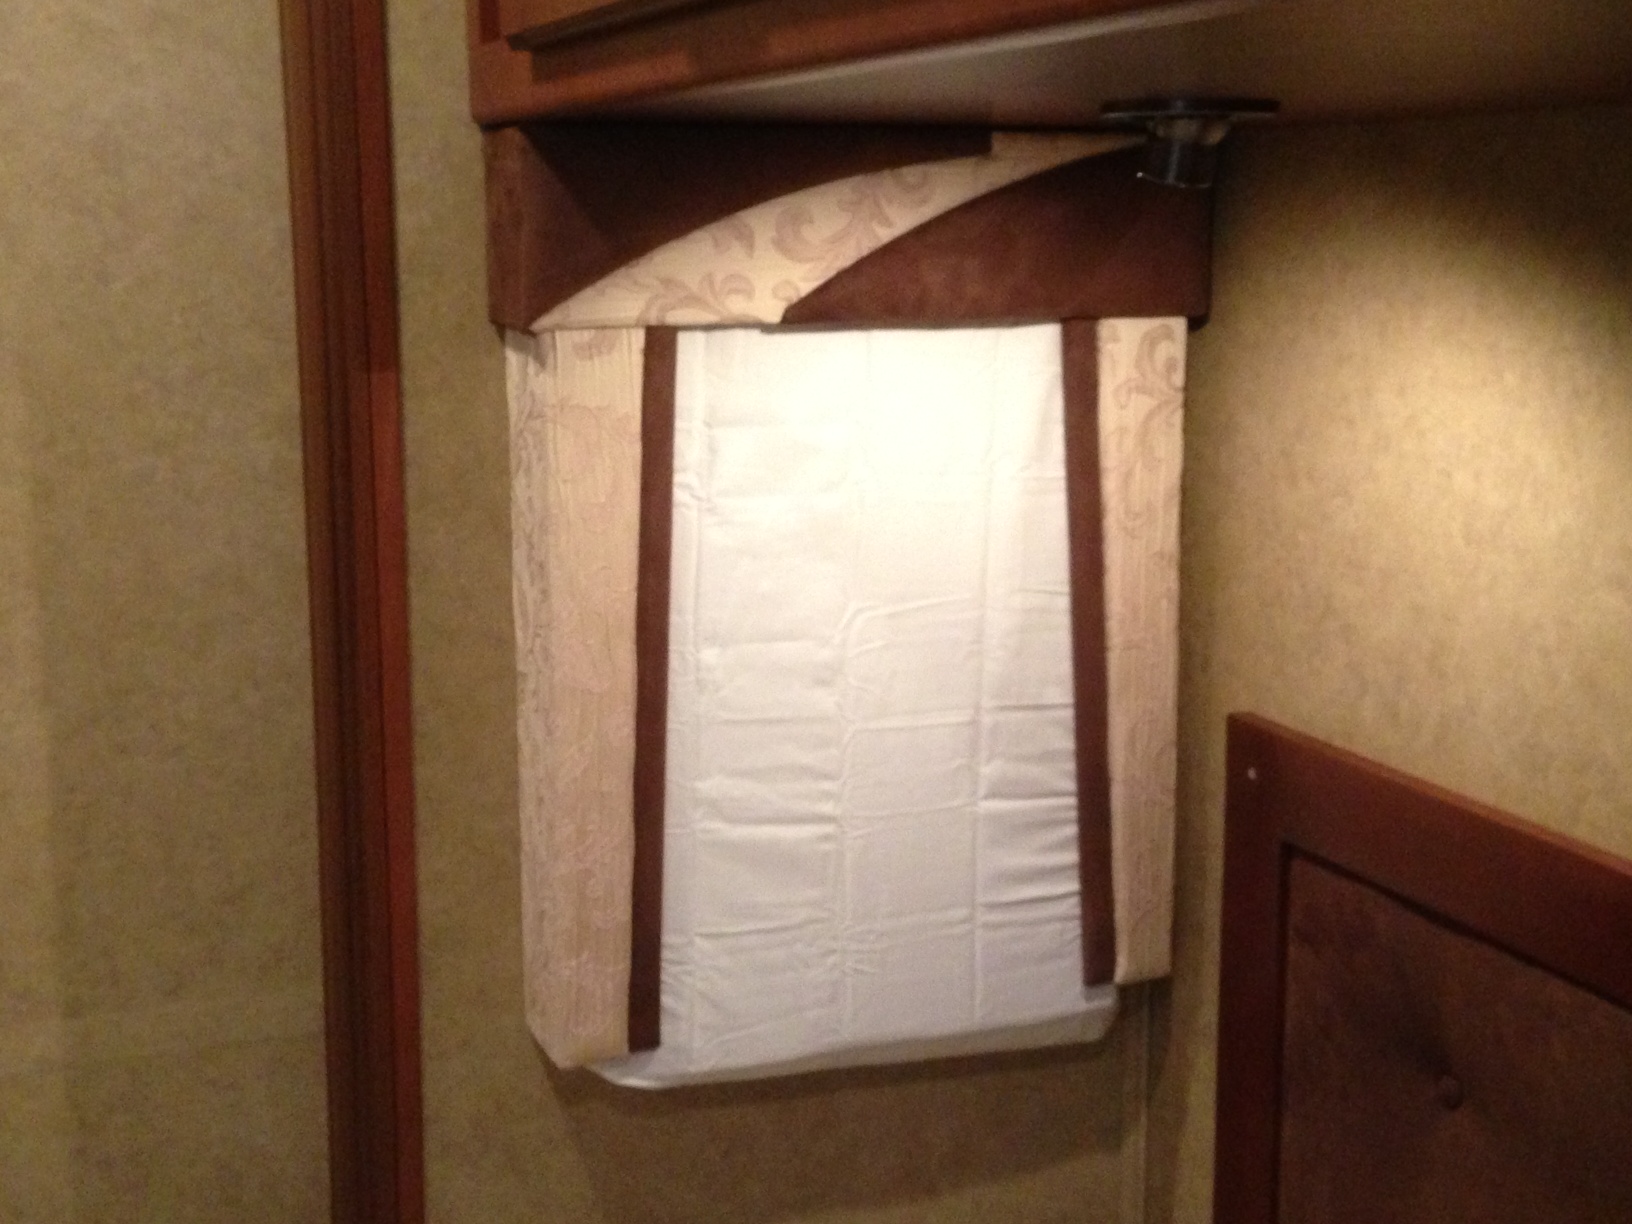
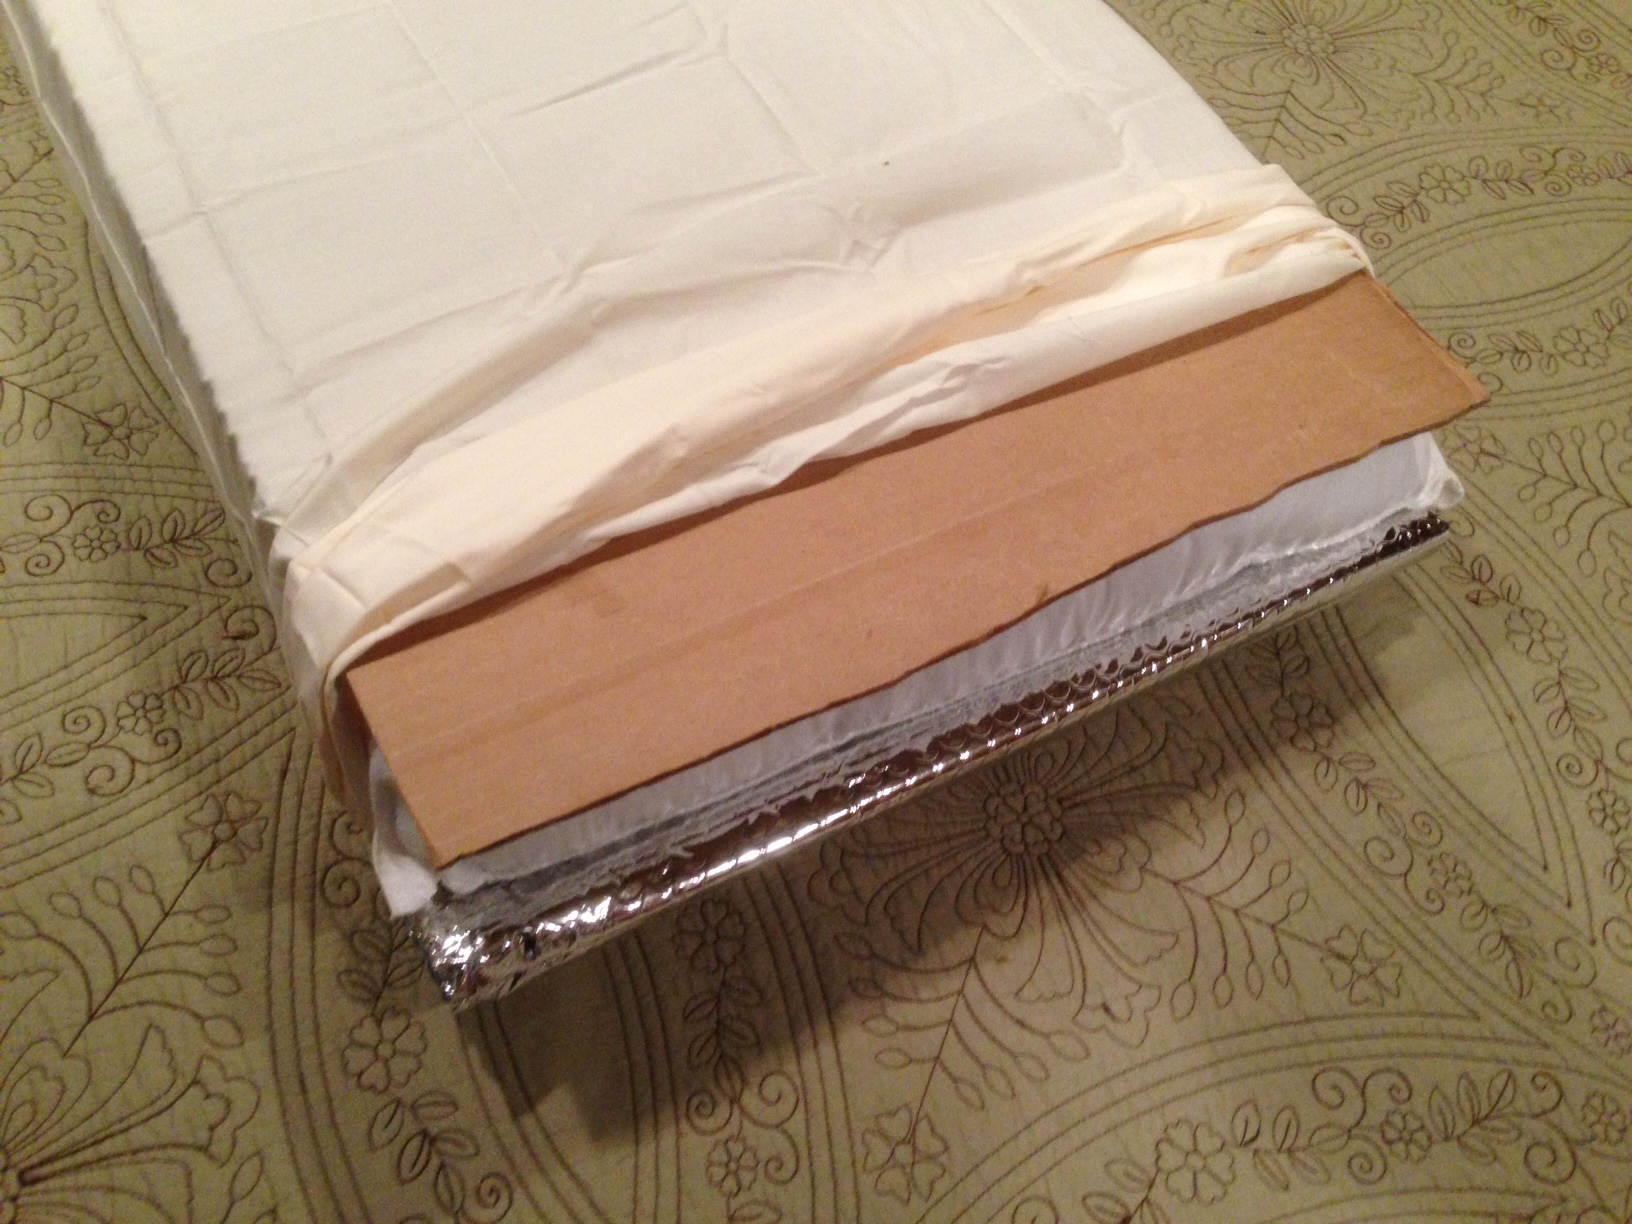
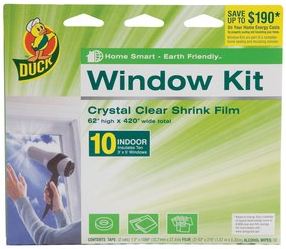
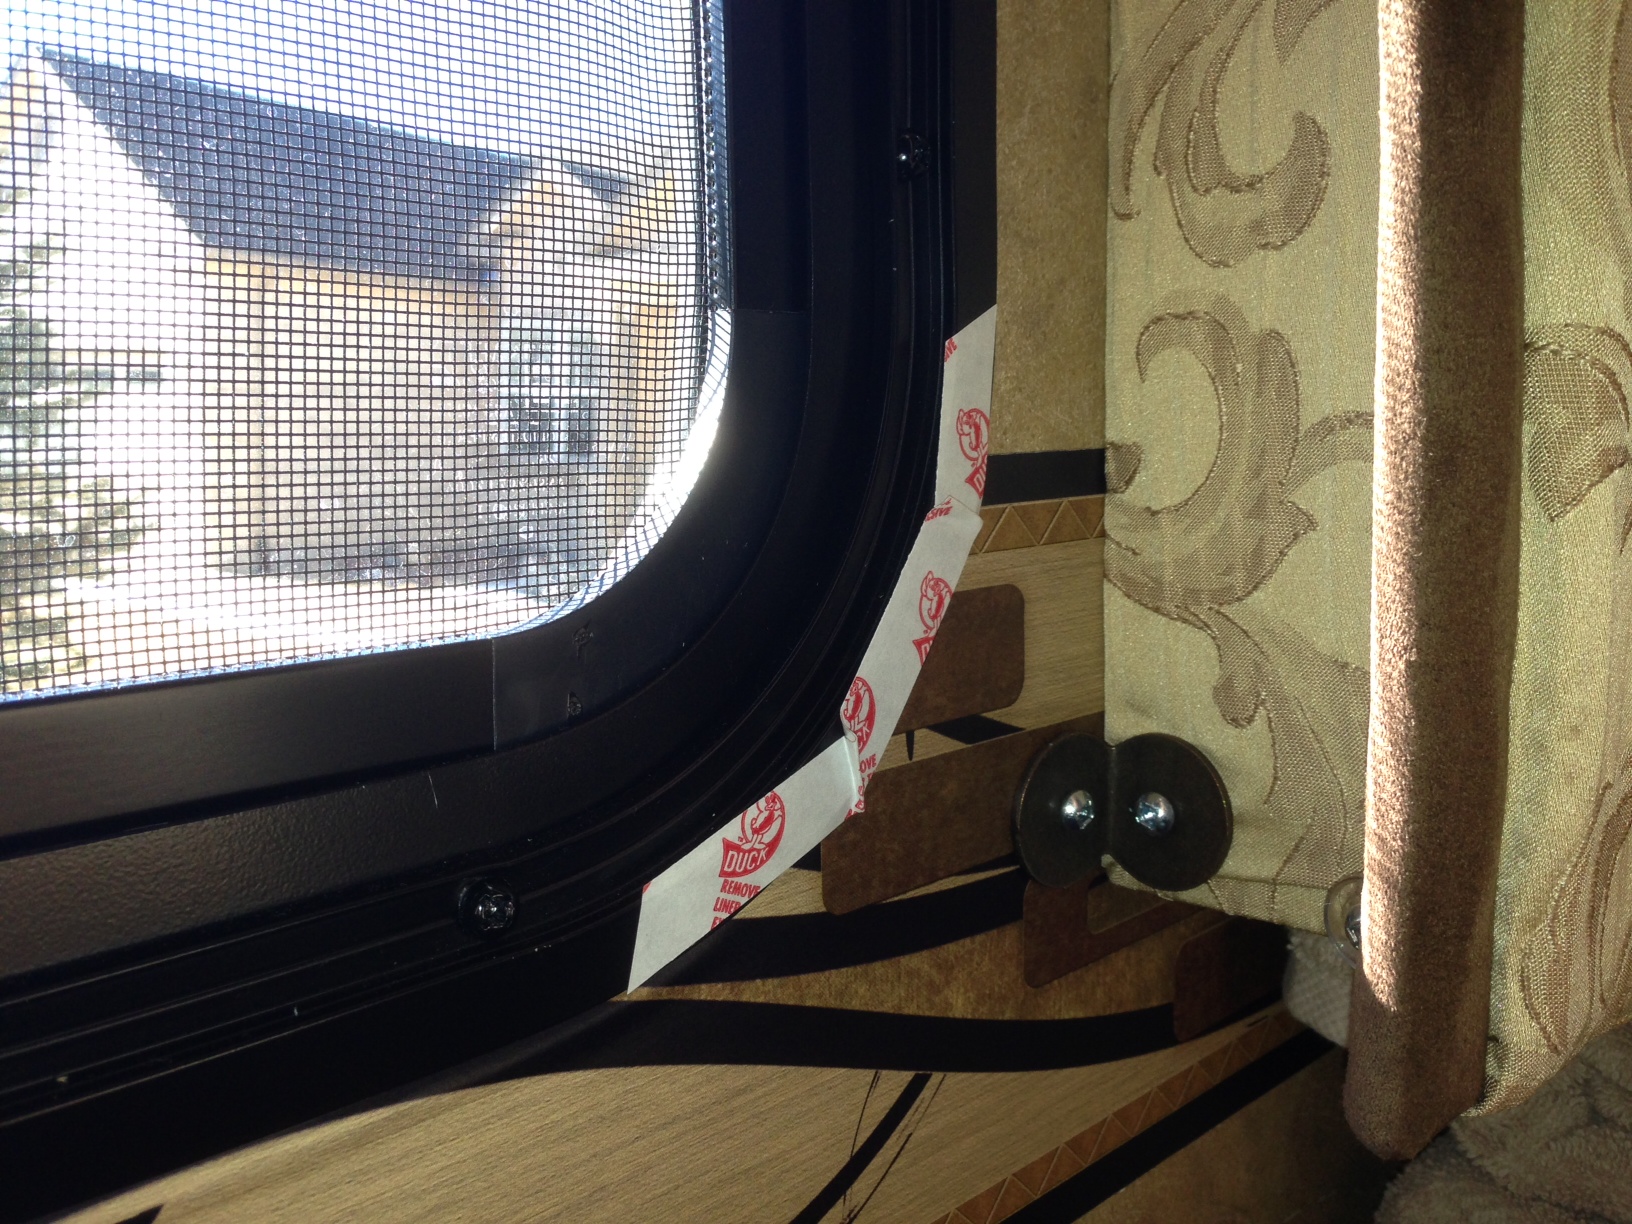
Insulating windows for Winter Camping

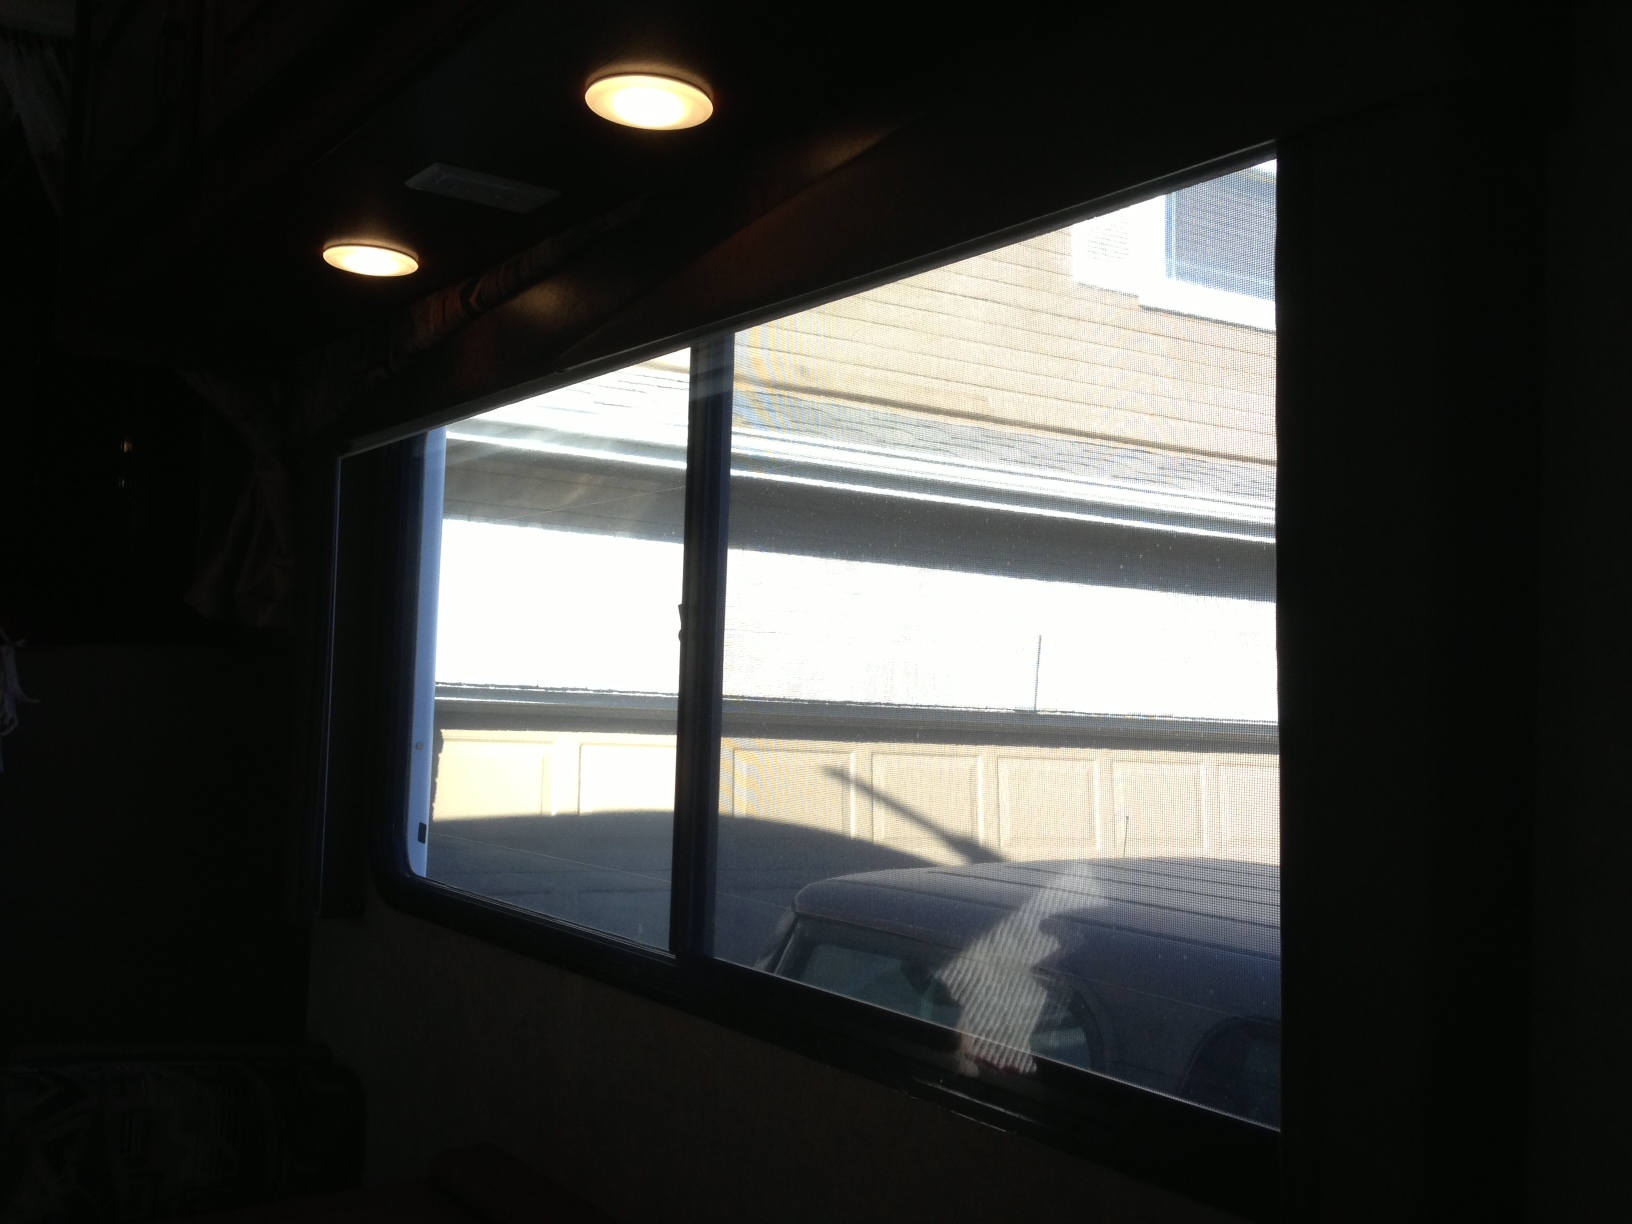
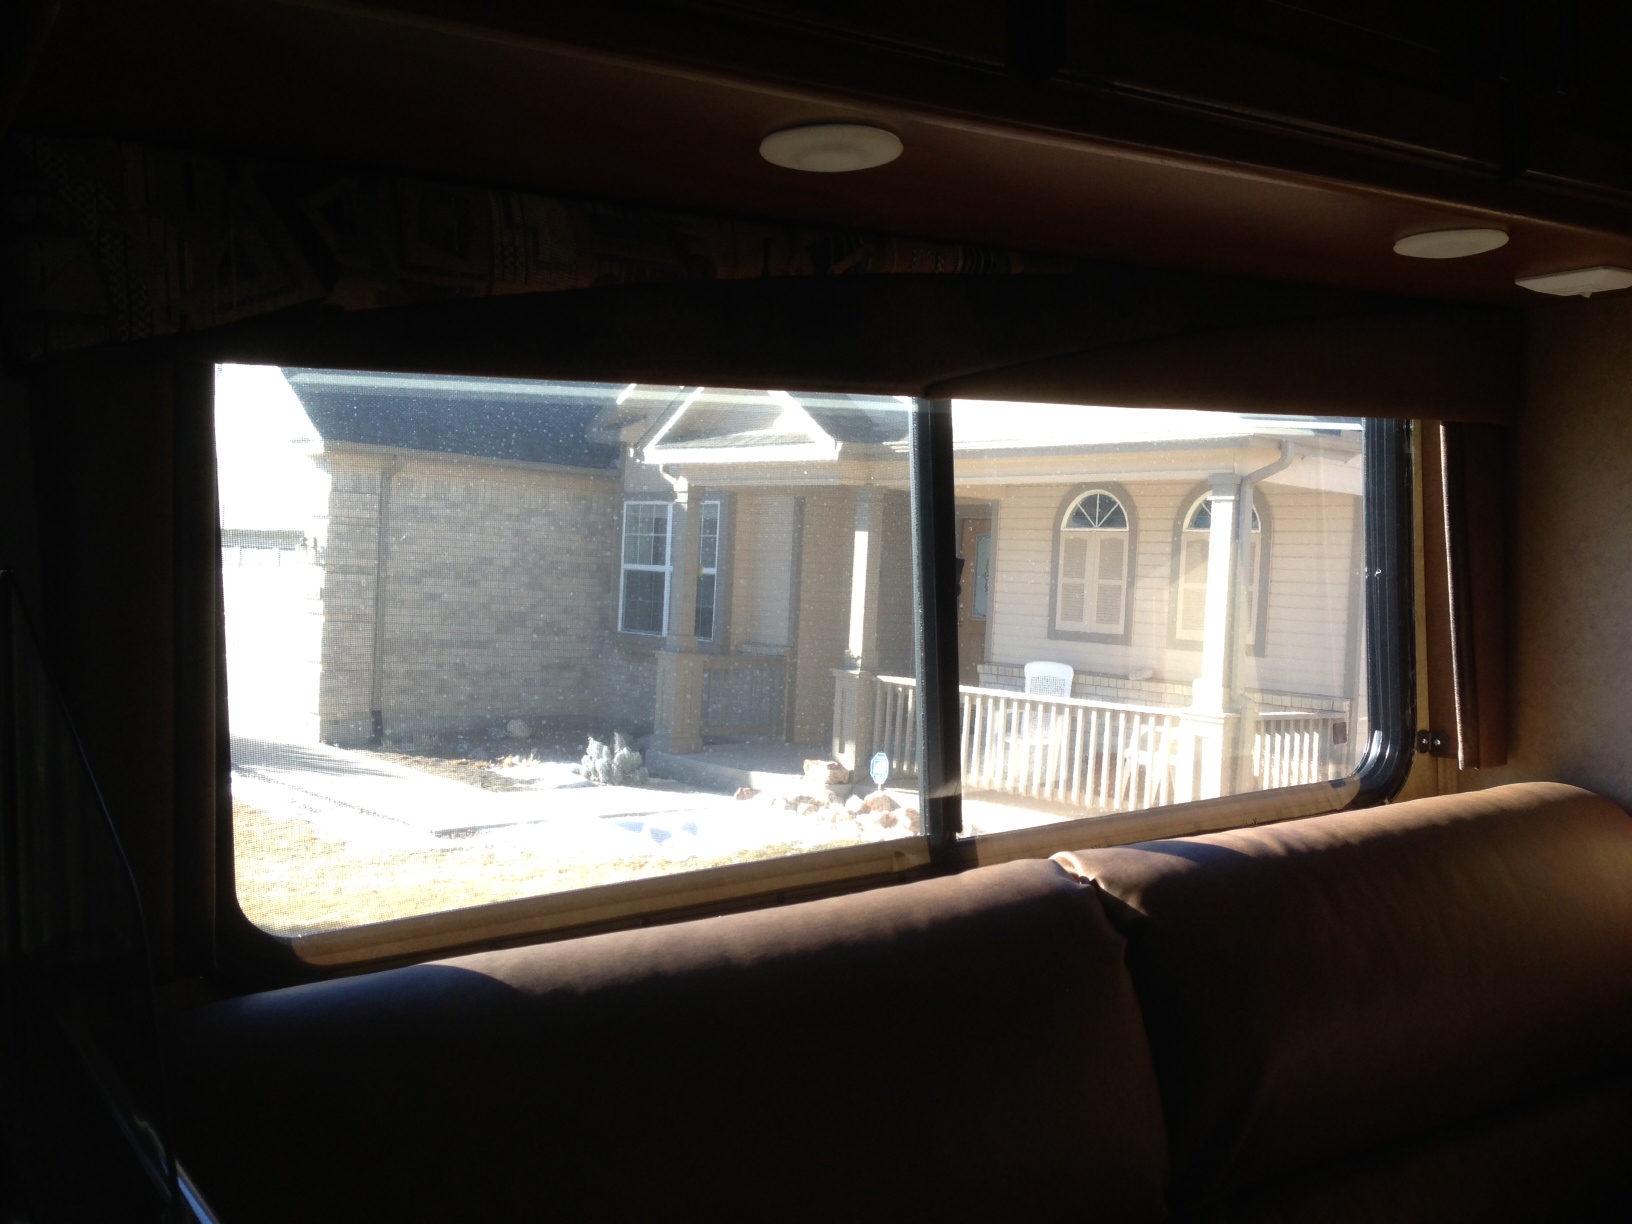
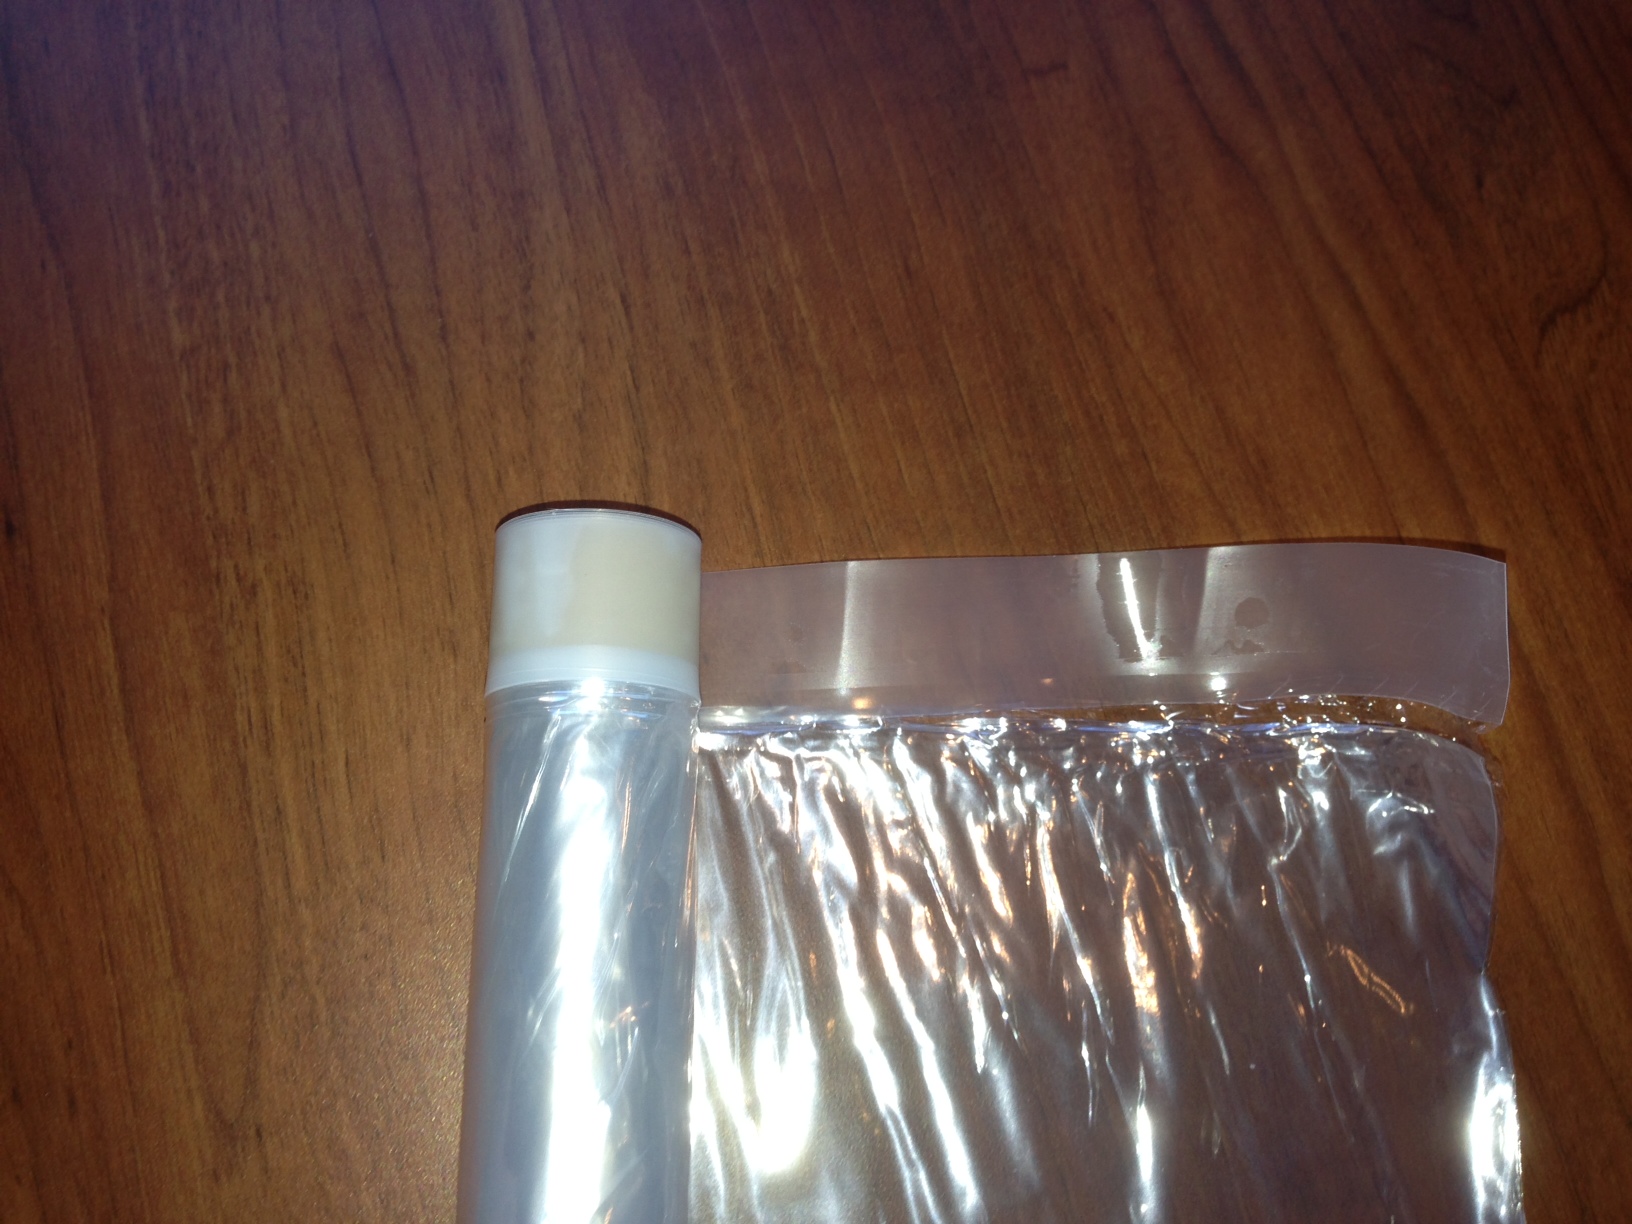
Living in Colorado, not being able to use the RV below freezing would limit us to about 3 months of use each year...clearly no fun. So I went searching for some simple modifications and tips that would let me be relatively comfortable in it down to about 0F. This is a little bit complicated because I didn't get an arctic package when I bought it...but we went down to single digits on our first trip and did ok, so I'm sure it's fixable.

This page will details what I do to the single-pane windows to keep it warm inside the RV.

Email me with any tips and tricks you've found useful, tweaks to what I've done here, etc.!

Insulating Windows - Reflectix and Pillows
We wanted to insulate the windows to prevent heat loss and condensation, so we looked at different options. Some folks put up velcro to attach Reflectix or foam, but we didn't want to use velcro and we wanted something with more insulation. We considered putting thick foam between the window and valance, which would have worked ok. The valances are 3.5" from the walls, and JoAnn's has large sheets of 4" thick open-celled foam that would have worked. It was an ugly green color and would have cost about $200 (even on sale 40% off) to cover the three bedroom windows and the two large windows in the living area.

We ended up with a simple, inexpensive plan.

Here's what it looks like installed. I just took the pillowcases out of the packaging so the wrinkles will relax with time. They look about the same from outside.

Not bad for a $2 pillowcase and some extra supplies!

Jennifer found a plain pillowcase at Walmart that complemented the interior, and I simply put a layer of Reflectix, a standard pillow, and a piece of thick cardboard inside it. The cardboard gives it enough structure so the valance holds the whole setup tightly against the window, stopping drafts and providing a lot of insulation.

Insulating Windows - Shrinkwrap
I wanted to insulate the windows but also didn't want to cover up the big dinette and sofa windows with foam that would block the light and views. These shrink-wrap window kits got good reviews from RVers online so I decided to give it a shot. It should keep the condensation off the windows, stop most of the drafts, and create some dead air space for insulation value.

They're a little finicky to install on RV windows because of the curved frames and small area under the valances to work in.

I'll update with how well it works once we get some experience with it on cold nights.

It took a little bit of fiddling to get this installed in an RV. First, my valances are fabric-covered wood and there's only about 3.5" of space to work with, so I couldn't get my hands up near the top of the window. Then, I wiped the frame down with the alcohol pad but the sun had heated the frame to the point where the two-sided tape wouldn't stick...and it took me a while to figure out that's why it wouldn't stick. Last, the tape might work great for square window frames but it's clearly not made for curved corners!

After sleeping on it for a night, I figured out a pretty simple solution that worked everywhere I put the wrap. I just cut about a 6" piece for each corner and put it at a 45-degree angle on the corner, then adjusted the tape along each side until it looked like this. Working with smaller pieces of tape instead of trying to tape the frame with one continuous piece was MUCH easier. Then I just taped the long pieces...still not easy along the top because of the valances, but doable.
Here's the dinette window...it's pretty clear.
And the sofa window - you can see where the sun is shining through the window onto the shrinkwrap.
One problem I had with the wrap is that the top pulled away over the first night. I'm pretty sure it's because the top section of the wrap includes a stiff tape to make installation easier...but it's a weak point for this application and it pulled away from the dinette and sofa windows overnight. This probably works well for normal windows with square frames, but not so well on the rounded corners in this RV. I'd recommend getting a style without the attached tape along the top, or just cutting off the top section and using the included two-sided tape instead. This is what I did on the bathroom window and it seems to be working better.

I also put this over the shower skylight - there's no vent in the skylight so it should create more dead air space and keep some heat in.

I just used packing tape to repair the dinette and sofa windows instead of redoing the whole thing. It seems to have worked well enough, and the tape is underneath the valance so the repair isn't obvious unless we look for it and nobody can see it from outside.

Stop the Cab from Stealing Your Heat!
The cab area sucks a lot of heat out of the RV, and one common sense reason is because of all the glass up there. That's where one of these thick insulators will come in handy! This model sticks on with magnets but also has anti-theft tabs that go inside the door frame. Below you'll see a few options from Amazon; use the search bar if you don't see your model!
Another reason the cab loses heat is through the vents. You have to turn the cab heater off before you turn off the engine to make sure it closes the vent to the outside.

Hanging a blanket from the cab-over bunk to block off the cab helps, too. It was about 15deg cooler in the cab area when we had the blanket hung up there. I got tired of hanging a blanket every time so installed Thermal Curtains to isolate the cab area and I can open and close them whenever I choose...pics below.

Top of Page | Site Map | Privacy Policy | © 2005 to Present | Email Me